11.01
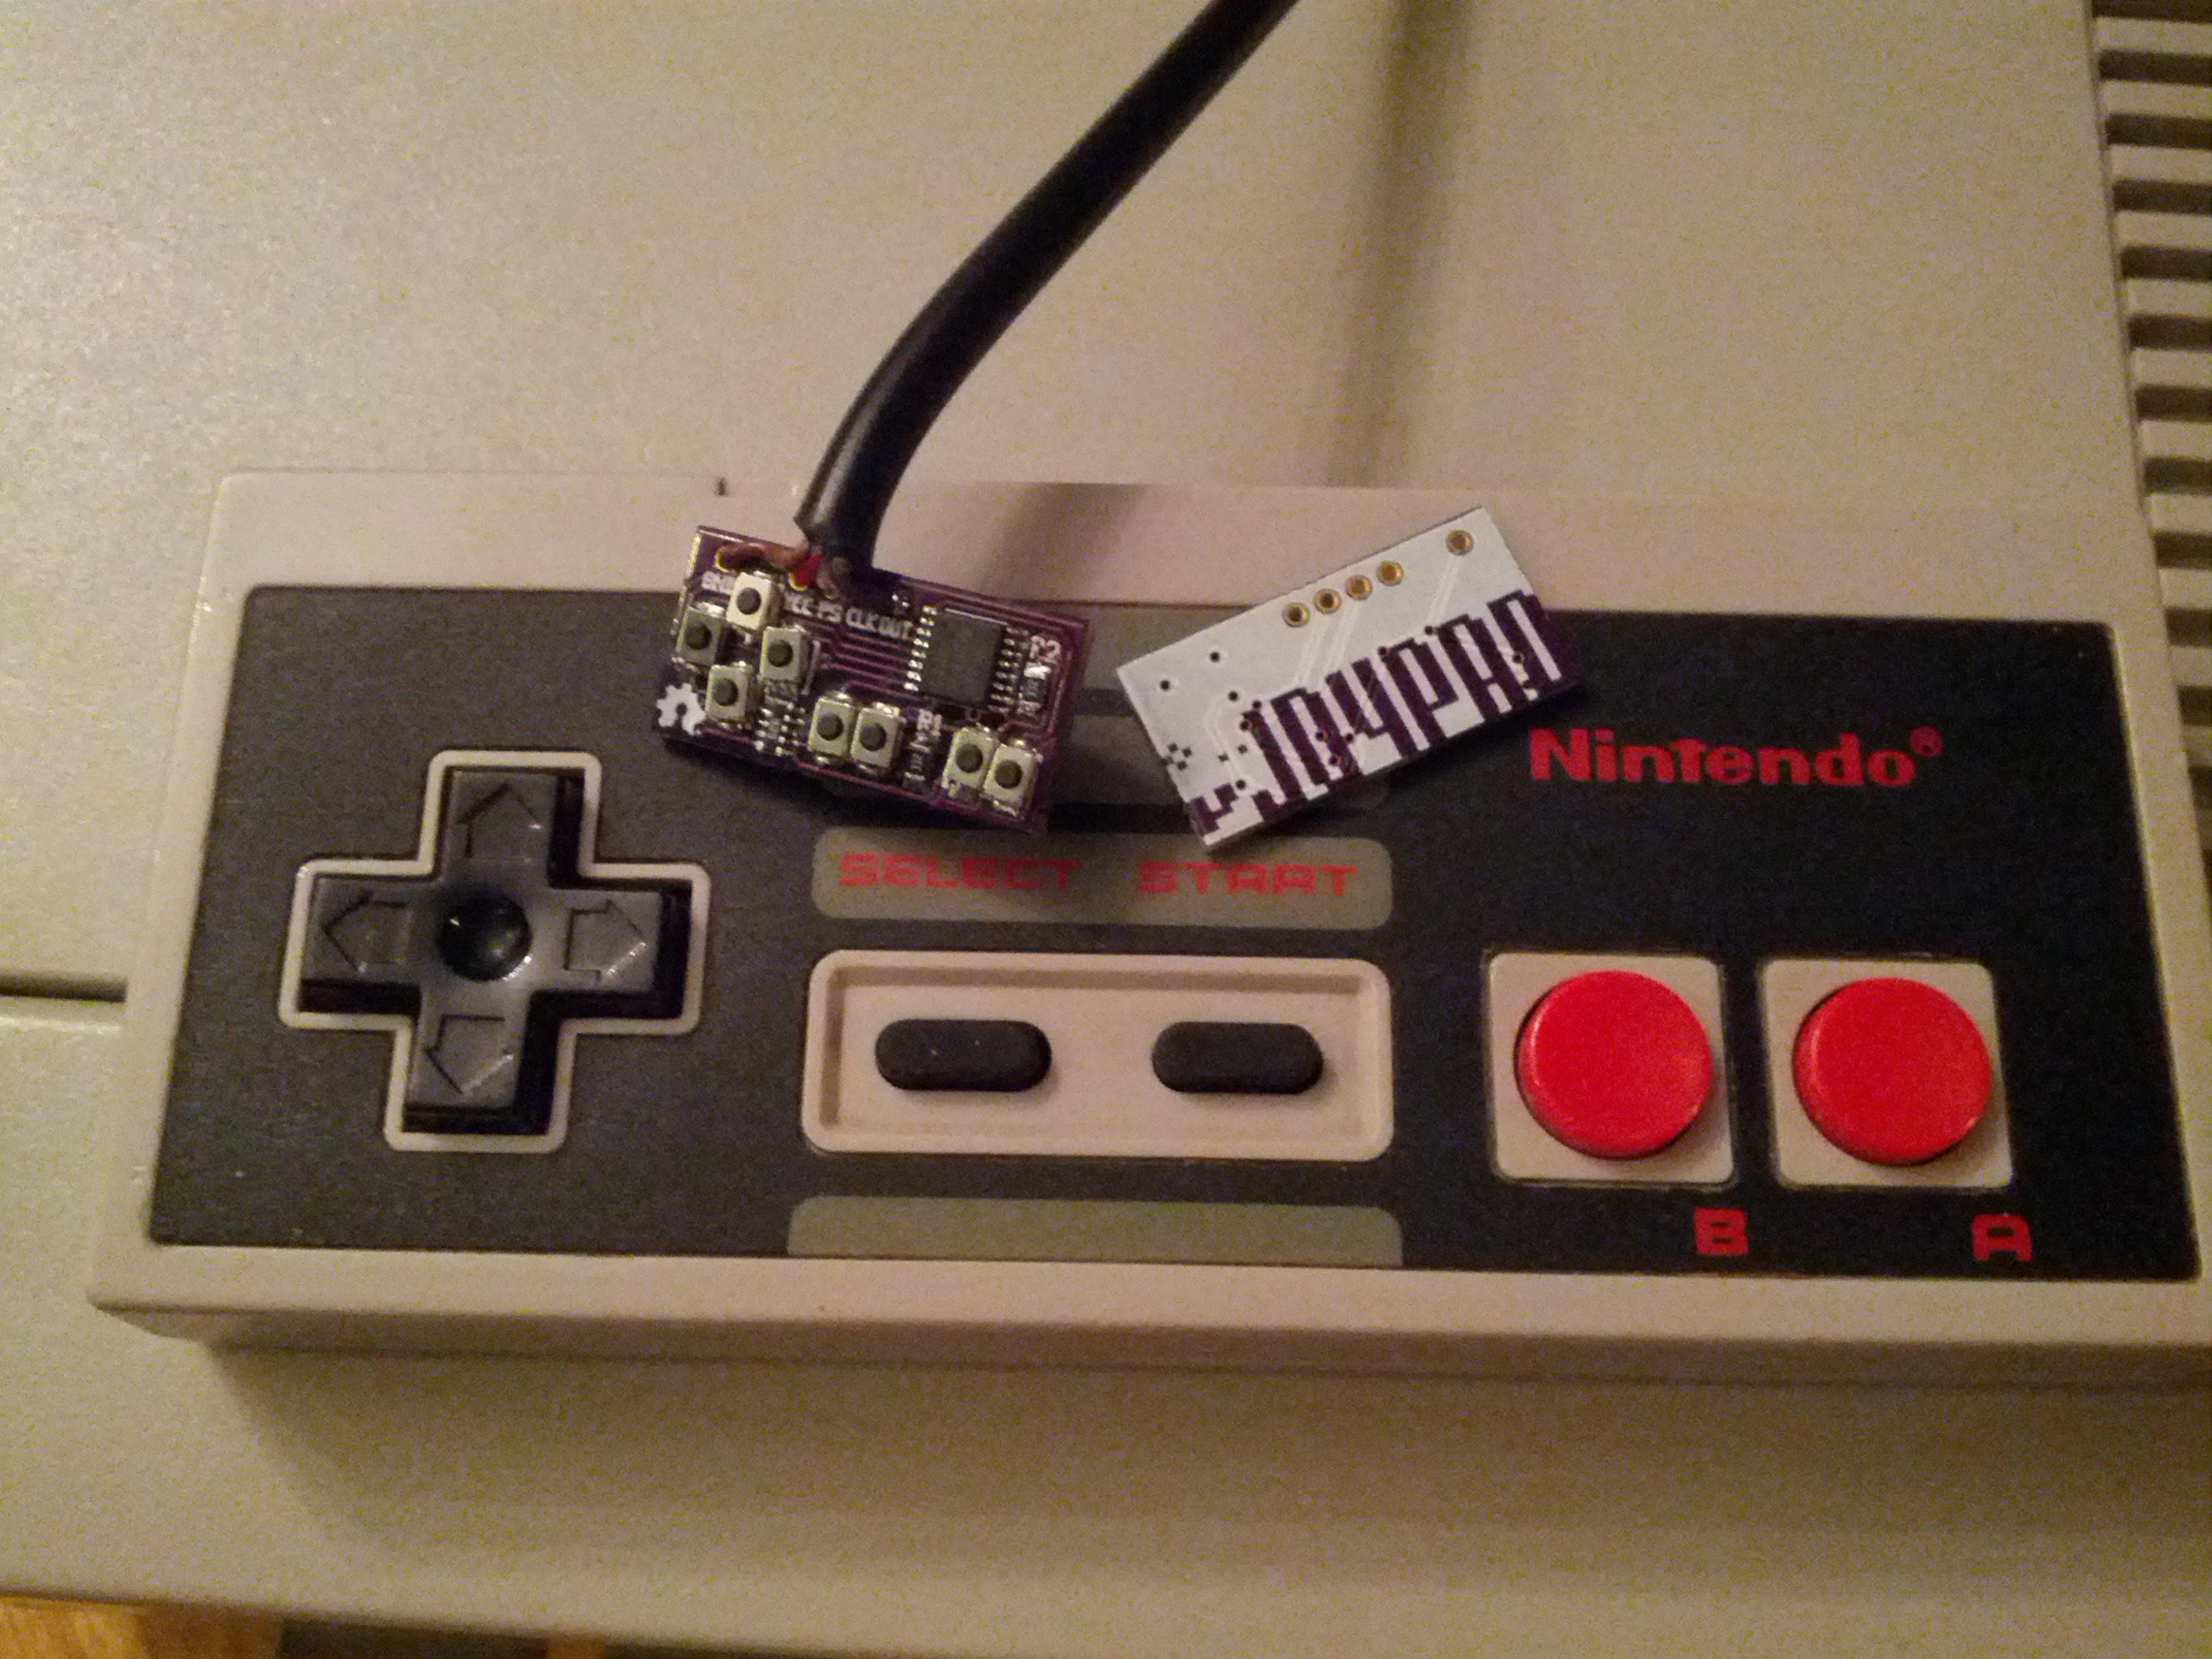
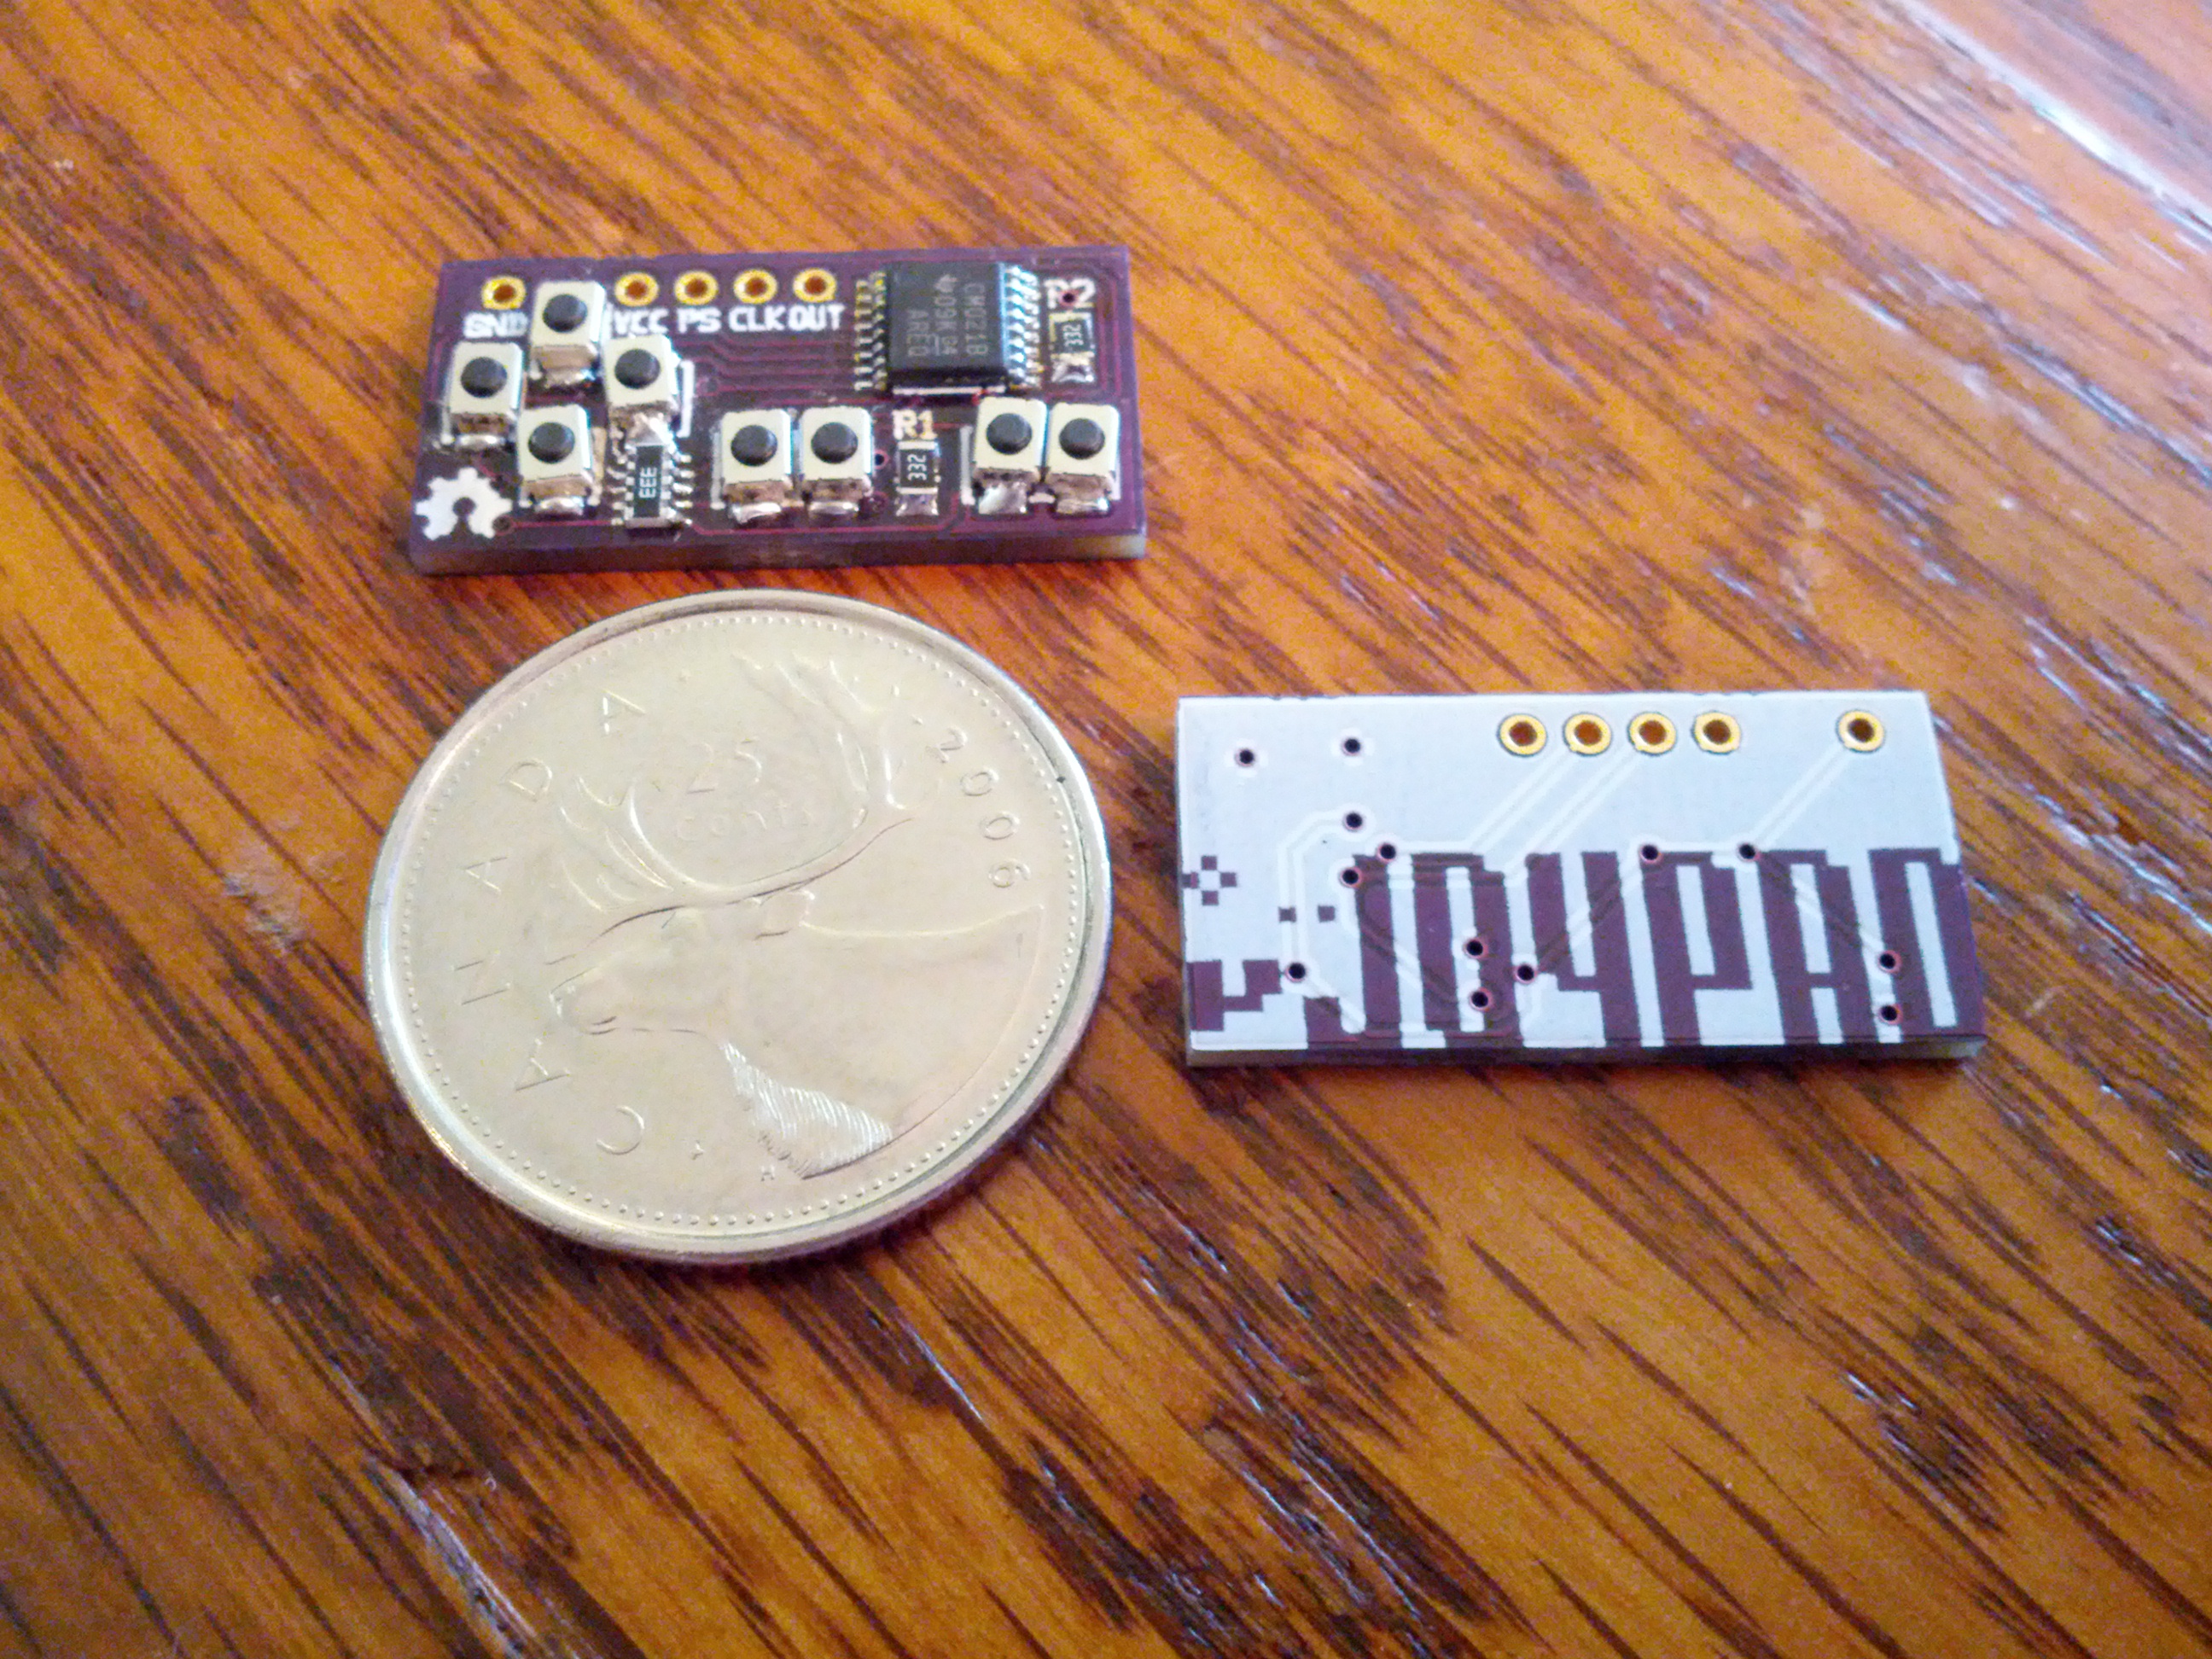
Introducing the μJoypad, the worlds smallest NES controller! Measuring in at 25.4×12.8×3.2mm (1.0×0.5×0.1in) this is, by my best research, the worlds smallest, fully functional NES compatible controller. A couple months ago I saw an article or video of the world’s largest game controller and thought to myself “I bet I could make the smallest” and so I did. The project is open hardware and available on GitHub. More pictures and a description of the design process after the jump.
As you may remember, this isn’t my first custom NES controller, but I started the project off hunting down a controller schematic so that I could make a proper clone. There is a surprising amount of inconsistency among these things online. Thankfully, I was able to find a nes controller scan and a replacement pcb layout which helped a lot. Knowing the basics of the controller functionality, I set off in search of the smallest footprint 4021 shift register available that I felt I could hand solder.
Next was to find some tiny push buttons since i didn’t want to deal with trying to make a bunch of tiny rubber dome buttons like in a normal gamepad. After a little searching, I found some sufficiently tiny ones.
Next was finding some resistors. I found a nice and compact resistor network for the button pull-ups and used some SMD resistors I already had on hand for the latch and clock pull-ups.
The hardest part to find was the NES controller cable. For my NES-chuck project, I just borrowed a cable from another NES controller, but I can only bear to take apart so many vintage controllers. Eventually I found some extension cables on Amazon that I could cut the ends off of guilt free.
The next step was taking the footprints for these parts, putting them into a new pcb layout, and cramming them into a small area. After guessing at a few different optimal placements, I came up with the arrangement seen here. Routing the traces was a bit tricky, but it all fit.
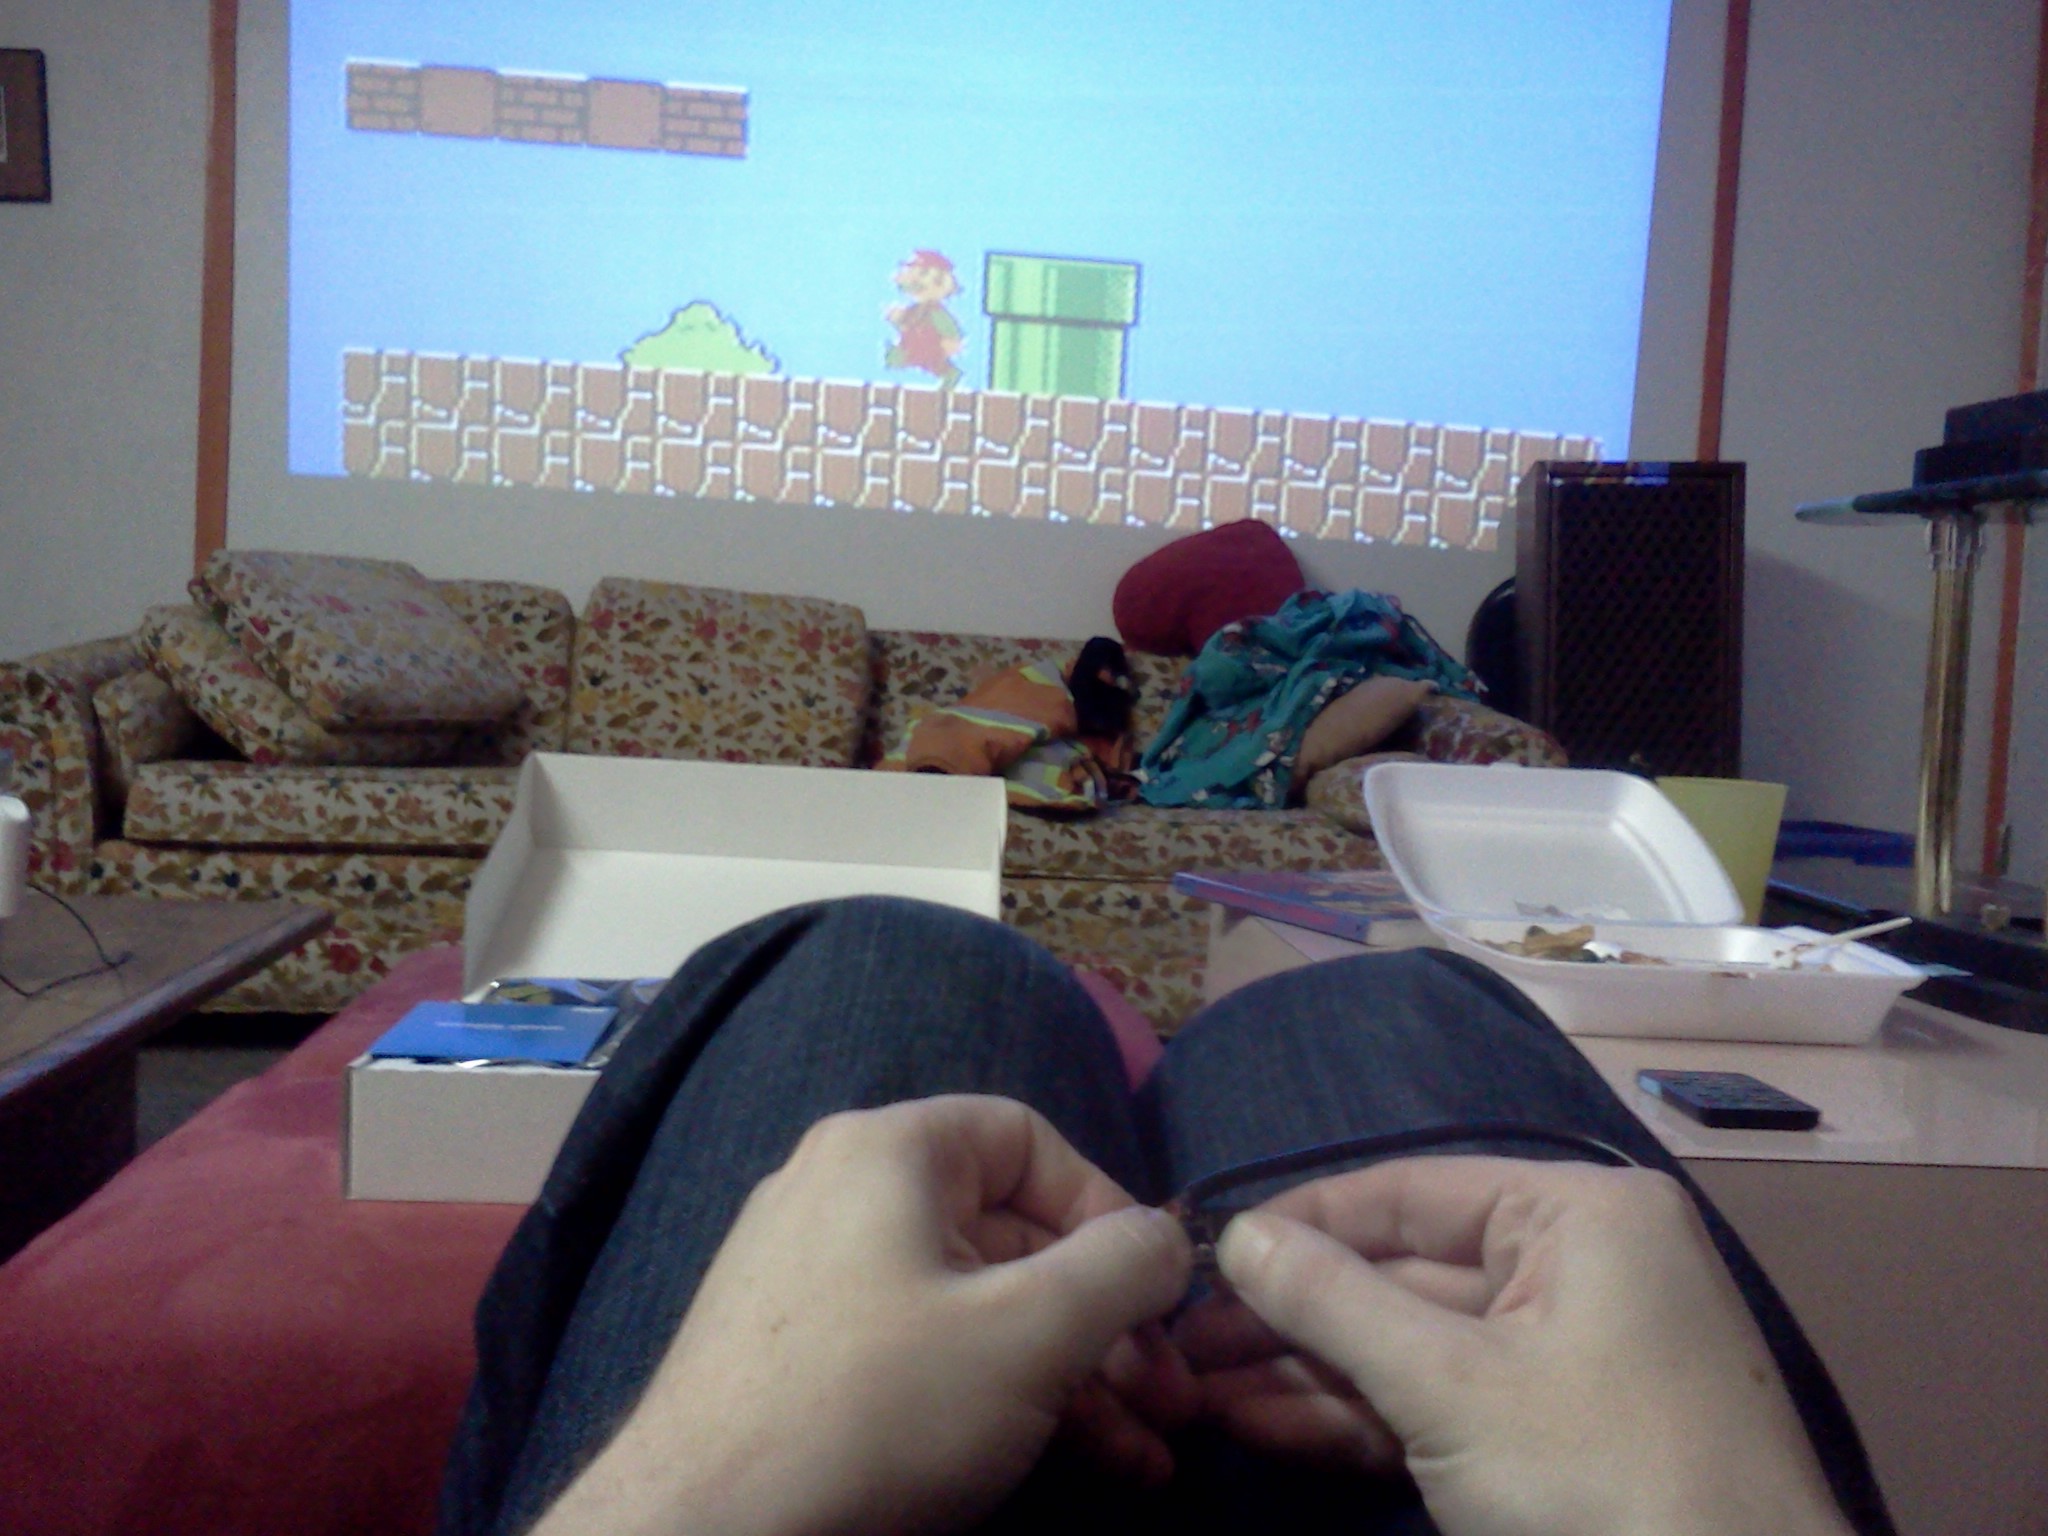
About a month ago, I sent the design off to OSHPark with a silk screen designed by a fellow SkullSpace member. The board arrived a couple weeks ago and I built one up. I was very much expecting my poor SMD soldering skills (evidenced by all the crooked buttons) or my first revision layout would have screwed something up, but to my surprise and delight, it worked right away when I booted up the NES. I even managed to play through the first level of Mario without getting hurt!
I’ve had a few people play with it already and, while everyone agrees that it is cool, they also agree that it is a painful experience. I’m not sure I really expected much more than that though, and honestly it is much more playable than I thought it might be. I’m going to see if I can laser cut a hotel key-card or something to make a bit of a case to reduce the pressure of the tiny buttons.
If you are interested in giving it a spin or want more details on how I did the design, I am organizing an embedded/electronics night at SkullSpace (125 Adelaide) on November 5 to which anyone is welcome. The plan is for me to talk a bit about the project followed by some project working time where everyone can work on their projects together with others interested in similar things. SkullSpace will also have a table at this weekend’s Central Canada Comic-Con and my μJoypad will be on display there too.


Do want!
[…] Read | Permalink | Email this | Comments […]
A fellow Canadian! I have a good relationship with a small PCB prototyping factory here in Toronto who loves to do small batches of stuff. If you are interested in getting these made professionally hit me up!
I do love supporting fellow Canadians. I got these boards made by OSHPark. How do your prices compare?
Very nice work! Do you recall the dimensions of your push buttons? I wasn’t sure about viewing the footprints but I’m guessing something around 6mm by 4.5mm? Also is the shift register an SOIC-16 package or something smaller? Thanks!
Make button caps from a plastic card using a hole punch. Carefully super glue to the switches.
And still a better experience than playing games on a touch-screen mobile phone.
Fantastic work!
Please can you release BOM file for this project or at least Digi-Key part numbers
If you put the shift register and the resistor network on the back of the board, as well as make the wire connections simple solder pads rather than through-hole, you could make this board quite a bit smaller.

Where are the shematic/board files? I see the open hardware logo on the silkscreen. I’d like to have a wack at shrinking it some more.
Cool board though, not knocking it at all.
@Gregg Eshelman: I think a hole punch hole might actually be too big, but I was thinking of using an old hotel card and laser cutting out an appropriate case. The D-pad I figured I could leave attached and allow it to flex, but the buttons were more tricky. Cutting them out and gluing them could work quite well.
@Ibrahim: I have added a simple BOM.csv to my GitHub repository: https://github.com/BenBergman/uJoypad/blob/master/BOM.csv
The resistors are simple generics, the NES cables were from NES extensions cables I found on Amazon that are no longer offered.
@Wade: I just uploaded a BOM.csv with links to the button part I am using: https://github.com/BenBergman/uJoypad/blob/master/BOM.csv
@UnaClocker: I thought about doing some of those improvements, but this is my first SMD project and didn’t want to make things too crazy. I’m also pretty convinced that this size is about the smallest it can be and still have it be playable like a normal controller.
My uJoypad is at Comic-Con right now and has already experienced one broken wire, so I can’t imagine an SMD pad for the wires lasting any longer. I am actually thinking that if I make more, I will have to add some extra form of strain relief.
Another improvement I might add to shrink the board is use a 4 layer PCB. This would have jumped the cost on my fun little project, so I didn’t bother.
The design files are in my GitHub account and it was all designed using gEDA.
@Ben Thanks very much for the BOM, that’s perfect. A while back I made what I call Demiduino as my first tiny SMD board (not sure if you want us linking on your comments, but it was on Dangerous Prototypes in February) and I like those buttons. I might be with Ibraham, I’m wondering if I try rerouting some traces and switching up placement if I could get it any smaller. Probably wouldn’t do any more for ergonomics though huh?
Great work again!
Oh I think I found the button on Mouser as well, at least in the US store: http://www.mouser.com/ProductDetail/Omron-Electronics/B3U-1000P/?qs=sGAEpiMZZMsgGjVA3toVBD%252bqDoRYvPtZBt73XVLWoZs%3d 22 cents cheaper too!
[…] Ben read an article about the world’s largest NES controller, and decided to make the world… Introducing the μJoypad, the worlds smallest NES controller! Measuring in at 25.4×12.8×3.2mm (1.0×0.5×0.1in) this is, by my best research, the worlds smallest, fully functional NES compatible controller. A couple months ago I saw an article or video of the world’s largest game controller and thought to myself “I bet I could make the smallest” and so I did. […]
wOW! are you interested in selling one of your little boards? I would love to build one of these up! but I dont really wanna order 10 boards 😛