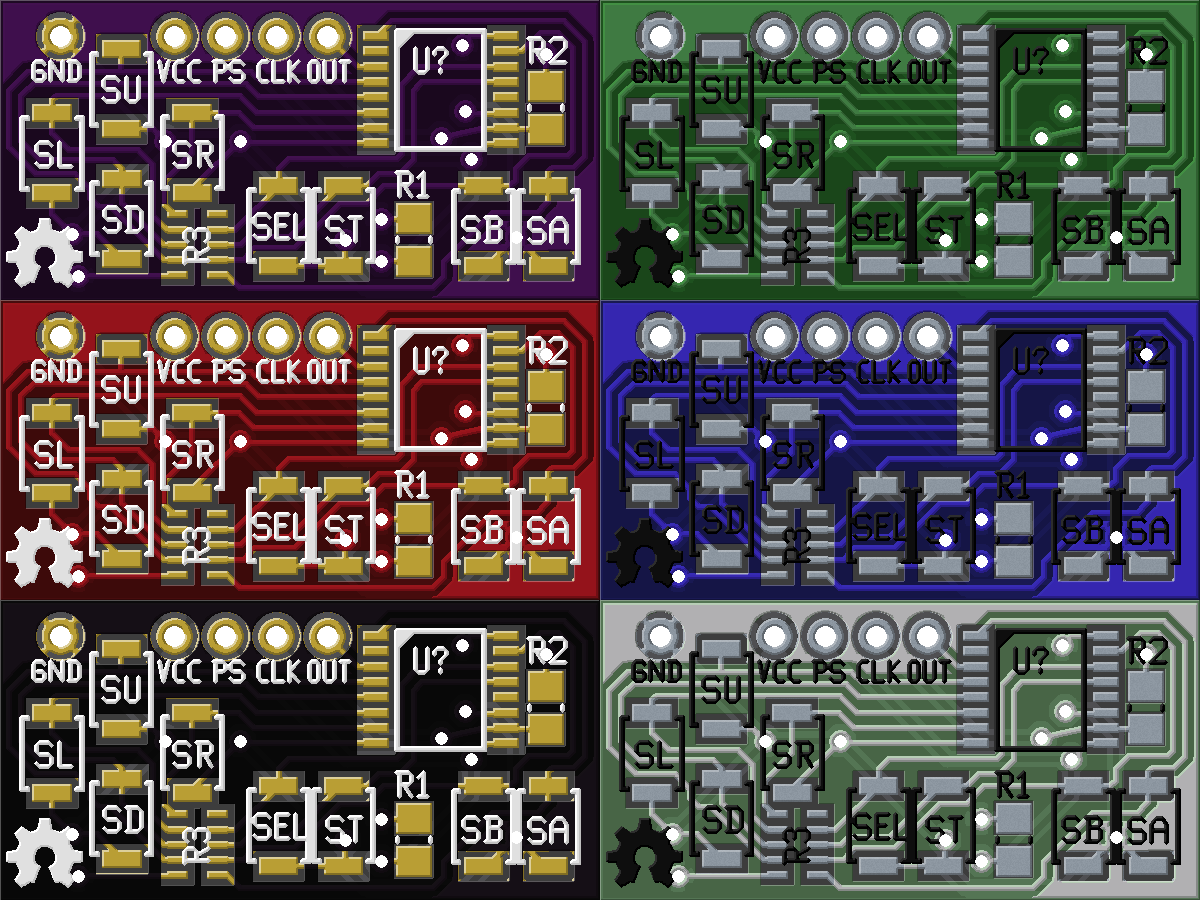
When working on my personal projects, I tend to use as much open source software as possible. Many people in the hobbyist world use Eagle for their EDA tools, which has a free restricted version but is not open. I personally prefer to use the gEDA suite of tools. I like it for its cross platform compatibility and its adherence to the Unix philosophy of “do one job and do it well” allowing tools to be connected in many different ways. This often allows the tools to be leaner, yet more powerful. This can also often make some of these tools a bit harder to pick up.
I was recently trying to add an image to a PCB I was making. Being so modular, gEDA pcb does not have an image import feature but instead relies on the program “pstoedit” to convert PostScript vector images into gEDA pcb objects. I have tried doing this before, but usually ended up with poor results. I finally collected the steps necessary to get repeatable, high quality results, which I will document here for anyone else trying to do the same.
1) Load your vector image into Inkscape (I will assume that you already have a vector image and have Inkscape installed)
2) Ensure your image uses only a single colour: black. All black objects will be added to your pcb object and all empty space will be left empty
3) Convert all objects to paths by selecting each object and using Path -> Object to path
4) Remove all overlapping vector paths by using Inkscape’s merging tools (union, difference, intersection, exclusion, division, etc) found in the Paths menu. If you end up with any paths that are touching (or are even just too close to each other without being joined) you are likely to end up with gEDA pcb carving gaps between them to meet the specified tolerances.
5) Adjust the file size to be appropriate for the scale it will be on the board. I have not yet found a way to reliably re-size the imported image once in pcb, so it is important to get this step right.
6) Save your image as a *.ps (PostScript) file. Make sure the “Convert texts to paths” box is marked. You may also want to have the “Resolution for rasterization (dpi)” setting cranked up to its maximum of 10000, but since the graphic remains a vector through this whole process, I don’t think it will make any difference (I haven’t tried playing with that number yet).
7) From the command line, change to the directory that your *.ps file is in and run a command like this:
$ pstoedit -psarg "-r1000x1000" -f pcbfill -ssp 'inputfile.ps' 'outputfile.pcb'
When I was first doing this, I didn’t add any of the optional parameters and I was using ‘pcb’ instead of ‘pcbfill’. -f pcbfill helps to ensure that the objects generated are solid, filled objects, which they might not be otherwise. -ssp forces things like letters with holes (‘o’, ‘d’, ‘p’, etc.) to convert correctly. The man page warns that this may be CPU intensive, but all the conversions I have done have run pretty well instantaneously. I also found I needed the -psarg “-r1000x1000” to get a good resolution out of the conversion.
8) Open your new *.pcb file in gEDA pcb and see the results. You may need to tweak some numbers or add/remove arguments, but so far this seems to work alright for me. Another option that might allow for a little more flexibility is including -xscale and -yscale flags if your image isn’t quite the right size. It may even help to make the image too large on purpose and the use the scaling flags to condense the resolution (again, I don’t think anything is rasterized during this process so I doubt this will make a difference, but it might be worth fiddling with it, even if I haven’t). You might also want to move the object into the top left corner of the pcb layout so that, in case you load it in a layout that is smaller it will still be visible.
9) At this point, you are ready to load your newly created pcb object into your full pcb project.
This process is not an exact science. Play with it until you find something you like. I have had success leaving out some of these steps too, so there is no need to redefine any defaults. Have any other tips for pcb graphics? Leave a comment!


